Please follow the steps below to add HD camera to Foscam cloud on computer:
Before you add the camera o the Foscam cloud, please make the following preparation:
1) The camera is powered on with the power adapter;
2) The camera is connected to the network with Ethernet cable or wireless;
3) The camera is connected to internet.
4) The computer and camera are connected to the same router.
From Foscam VMS:
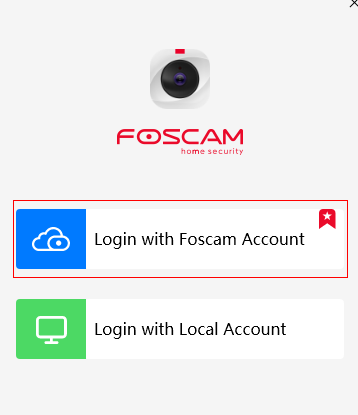
Step1: Open the Foscam VMS and Login with Foscam account.

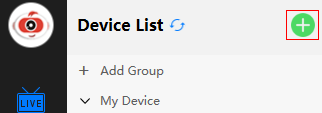
Step2: Click on the Plus button to search the cameras in LAN to add. Meanwhile you can add the camera manually.

From web browser:
Step1: Visit Foscam cloud website.
Foscam cloud website: www.myfoscam.com
Please visit Foscam cloud website on your computer via Internet Explorer on Windows, and Safari for MAC.

Step2: Install plugin before logging in Foscam Cloud
If it’s the first time you visit the Foscam Cloud platform website, the browser will prompt a message asking you install the plug-in firstly. Please click to download the plugins installation package and double click the .exe (Windows user) or .pkg (Mac user) file to install the plugin.
Please note: During installing the plug-in, it will force you close the browsers firstly.
You can re-open the browser after installing the plugin

Step3: Register a Foscam cloud account and log in cloud platform
Please click “Register Now!” button to register a Foscam cloud account by following the register wizard. Foscam cloud account can also use on Foscam APP, Foscam official website, and Foscam official mall. Input the register account and password to log in the cloud platform.

Step4: Add new P2P camera to Foscam cloud
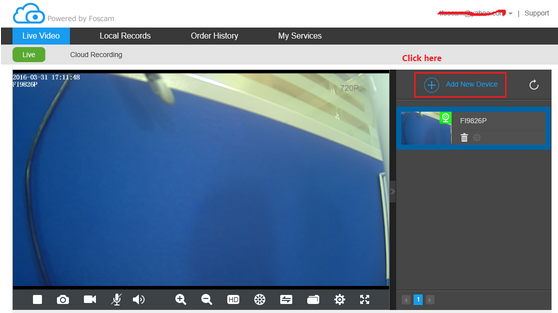
1) After log in the Foscam Cloud platform, please click the Add new device on the right corner, and then follow the setup wizard to add your camera.

2) Choose the correct camera type, then click next.
3) Power on your camera, and hook it up to router with Ethernet cable, wait until the camera to finish initial reboot, then click next.
4) Please use “Scan LAN” to find the P2P camera and choose it to add; If the P2P camera does not show up in the list, please switch to “Manually” to input the camera UID to add. Then click next to go to next step.
 Note: When choose “Scan LAN”, please make sure your computer and camera are connected to the same router.
Note: When manually add the camera, the camera UID can be found under the QR code on the camera sticker.
A. For indoor PT camera, you will find the sticker on the bottom;
B. For indoor cube camera, you will find the sticker on the back;
C. For outdoor waterproof camera, you will find the sticker on the back;
D. For outdoor PT camera, you will find the sticker on the wall mount bracket.
5) Input the user name and password of your camera. If you have modified the user name and password before, please input the modified ones. If it’s the first time to access the camera, then input the default camera user name “admin” with no password, then it will ask you to modify the user name and password for security. We suggest you write down the new camera user name and password in case you forget them later. Then click Next to complete the setup.


Step5: Succeed to add a new P2P camera
You can repeat the 4 steps above to add more cameras onto Foscam cloud platform. After that, the browser will jump to the living video page. You can view and operate the camera. Once you added the cameras to Foscam cloud, you can access these cameras both on computer by going to www.myfoscam.com or on Foscam app.


